

Non-fungible tokens (NFTs) have gained significant popularity as a new form of digital asset, representing ownership and scarcity in the digital world. They have created new opportunities for creators and businesses to monetize their work. In this article, the MobiDev team provides a step-by-step guide on creating an NFT project, including defining project goals, choosing a blockchain platform, creating a smart contract, promoting the project, selling NFTs, and monitoring project performance. By following these steps and making informed decisions, developers can launch a successful NFT project that attracts buyers and investors.
How to Build a Successful NFT Project
Step 1: Define Your NFT Project Goals
Defining your NFT project goals is crucial for a focused and purposeful development process. To ensure your project has direction and value, consider the following:
- What is your NFT project’s purpose? Is it to showcase your creative works, monetize your content, or provide a unique experience for your audience?
- Who is your target audience? Understanding their needs, preferences, and interests will help you create a project that resonates with them.
- What are your revenue goals? Determine if you want to generate income through NFT sales, transaction fees, or other revenue streams. This will help with pricing, marketing, and distribution strategies.
- What are your branding and marketing goals? How do you want to position your NFT project in the market? What channels and tactics will you use to promote your project and reach your target audience?
- What are your creative and technical goals? What kind of NFTs do you want to create?
- What blockchain platform and smart contract features do you need to achieve your goals?
Establishing clear NFT project goals will enable you to create a roadmap, make informed decisions, and track progress and success. Continuously review and adjust your goals as necessary to keep your project aligned with your vision and objectives.
Step 2: Choose a Blockchain Platform
NFTs are typically built on blockchain platforms such as Ethereum, Solana, Polygon or Flow. Each blockchain platform has its own set of features, advantages, and disadvantages. Ethereum, for example, is the most popular blockchain platform for NFTs, but it can be expensive to use due to high gas fees. Polygon, on the other hand, offers lower fees and faster transaction times but has a smaller user base. It’s important to research and choose the blockchain platform that best suits your NFT project goals.
Choosing the right blockchain platform is an essential step in building a successful NFT project. Here are some factors to consider when choosing a blockchain platform for your NFT project:
- Security: Security is a critical consideration when selecting a blockchain platform for your NFT project. You should choose a platform that has a strong track record of security and has implemented measures to protect against hacking and other security breaches.
- Scalability: Scalability refers to a blockchain platform’s ability to handle a large number of transactions without slowing down or becoming congested. Ethereum, for example, used to experience congestion and, therefore, high gas fees during periods of high demand. It’s important to consider a platform’s scalability and its ability to handle your NFT project’s anticipated traffic and transaction volume.
- Cost: Each blockchain platform has its own cost structure and transaction fees. Ethereum, for example, you can check the actual cost of the commission in real time. Other blockchain platforms, such as Binance Smart Chain and Polygon, offer lower fees but may have fewer users.
- Community: The strength and size of a blockchain platform’s community can impact the success of your NFT project. Ethereum has the largest and active community of developers and users, which can provide valuable support and resources, as well as boost the popularity of your NFT collection. Other platforms, such as Flow and Tezos, are newer and have smaller communities but may offer unique features and advantages.
Step 3: Create Your NFT Smart Contract
Creating a smart contract for your NFT is a crucial step in the development process. It determines how your NFT project will function on the chosen blockchain platform. Here’s what you need to do:
- Define your NFT attributes: Before creating your smart contract, you should define your NFT attributes, such as its name, description, image, and metadata. Also, decide whether it will be unique or have multiple copies.
- Determine the rules and conditions: Your smart contract will define the rules and conditions of your NFT project. This includes how your NFTs can be traded, who can buy them, and what happens when they are sold. Decide if your NFT will have special features or functionality, such as royalty payments, limited edition releases, or exclusive access to events.
- Create or use a pre-existing smart contract: You can create a smart contract from scratch or use a pre-existing template. If you’re new to smart contract development, it may be best to use a pre-existing template that has been tested and proven to work.
- Test your smart contract: It’s essential to test your smart contract before launching your NFT project to ensure that it works as intended.
- Deploy your smart contract: Once your smart contract has been tested and verified, deploy it to the chosen blockchain platform. This will make your NFTs available for sale or trade on the platform.
Creating a smart contract can be challenging for the average user, so it’s recommended to seek professional help.
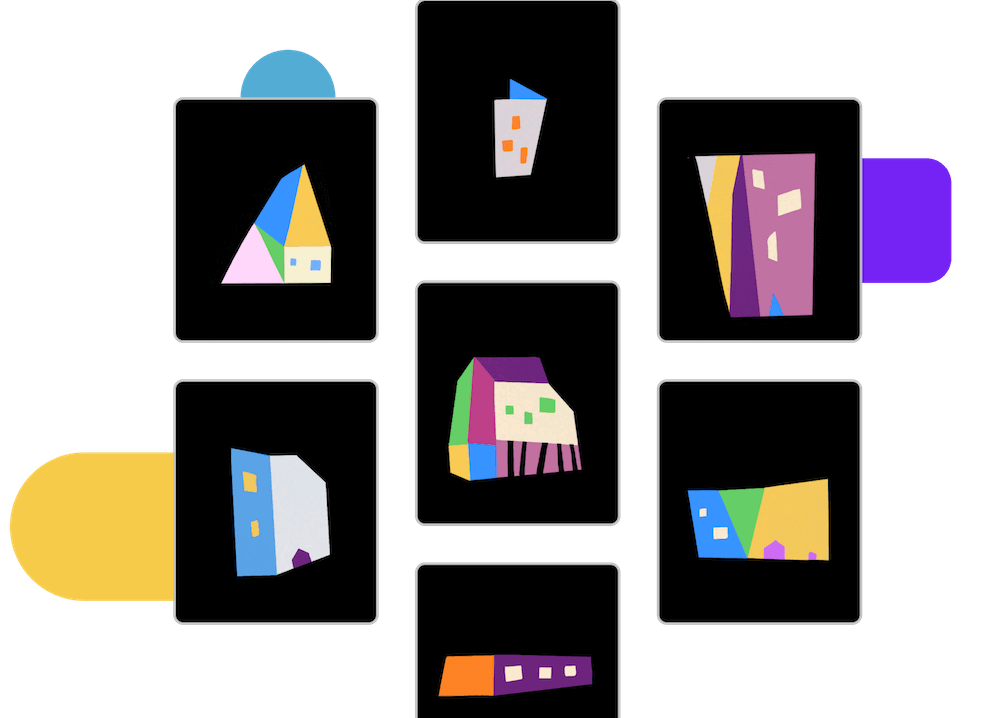
Step 4: Create Your NFT Design
Designing your NFT is an important step in the process, as it will determine how your project will be received by your audience. Here are some key considerations:
- Conceptualize your NFT: Start by creating a concept for your NFT that aligns with your project goals. Think about the theme, color scheme, and overall style that you want to convey.
- Select the right software: You’ll need graphic design software to create your NFT. Popular options include Adobe Photoshop, Canva, and Illustrator, among others.
- Consider technical requirements: Each blockchain platform has its own specific requirements for NFTs, including file format, image size, and resolution. Make sure you research these requirements before creating your NFT.
- Make your NFT unique: Your NFT should have artistic value or convey a particular idea that resonates with your audience. Consider collaborating with other artists or designers to create one-of-a-kind NFTs.
- Test your design: Once you’ve created your NFT, check for any technical issues and make sure that it meets the platform’s requirements.
- Designing an NFT can be a fun and creative process, but it’s important to keep in mind the technical specifications of the blockchain platform you’re using. If you’re unsure about any aspect of the design process, consider seeking help from professionals.
Step 5: Mint Your NFT
Minting your NFT involves creating a unique token within the blockchain that represents your digital asset. Follow these crucial steps to mint your NFT:
- Choose a platform: Select a platform, such as OpenSea, Binance, or your own NFT marketplace, to mint your NFT. Make sure the blockchain platform you choose matches the one you used to create your NFT. (For example, if you created an NFT on the Ethereum blockchain, you should choose the Ethereum mainnet to mint your NFT).
- Set up your wallet: To mint your NFT, you’ll need a wallet that supports the platform and enough cryptocurrency to pay for the gas fee. Popular wallets like MetaMask or Trust Wallet can be used. Ensure your wallet is funded with enough cryptocurrency to cover the gas fee for minting your NFT.
- Mint your NFT: Connect your wallet to the platform and follow the instructions to mint your NFT. You’ll need to upload your NFT file, provide a description, set a price, and more.
- Pay the gas fee: To mint your NFT, you’ll have to pay a gas fee, which is a fee paid to the blockchain network to process your transaction. The gas fee varies based on the platform and network congestion.
- Wait for confirmation: Once you’ve paid the gas fee, wait for confirmation of the transaction on the blockchain. Depending on the platform and network congestion, confirmation can take anywhere from a few minutes to several hours.
Step 6: Launch Your NFT Project
Launching a successful NFT project requires careful planning and promotion. Here are some steps to consider when launching your NFT project:
- Promote Your NFT Project: Utilize social media platforms like Twitter, Instagram, and Discord to promote your NFT project. Share images and information about your NFTs and use relevant hashtags to reach a wider audience. Reach out to NFT communities and influencers to get your project in front of more people.
- Set a Price: Determine a fair price for your NFTs based on their uniqueness, rarity, and demand. Consider creating different tiers of NFTs with varying prices and benefits.
- Sell Your NFTs: Once your NFT project is live, start selling your NFTs. You can sell them on NFT marketplaces like OpenSea or Rarible, or sell them directly through your website or social media channels.
- Engage With Your Community: Create a sense of community around your NFT project by answering questions, providing updates, and engaging with your buyers and investors. This can help build excitement and loyalty among your target audience.
Step 7: Monitor Your NFT Project Performance
Monitoring the performance of your NFT project is crucial to understanding its demand and how well it is performing in the market. Here are some factors to consider when monitoring your NFT project:
- NFT Sales: Keep track of how many NFTs you sell and the prices they are sold for. This information will help you determine the demand for your NFTs and adjust your pricing strategy accordingly.
- Market Trends: Keep an eye on the market trends for NFTs in general and for your specific niche. Understanding market trends will help you make informed decisions about your NFT project.
- Feedback: Pay attention to feedback from buyers and investors. Track engagement on your social media platforms, such as Twitter, Instagram, and Discord. This feedback can help you improve your NFT project and make changes to better meet the needs and expectations of your target audience.
- Secondary Market: Monitor the secondary market for your NFTs, including resale prices and the number of times your NFTs are being resold. Understanding the secondary market can help you make informed decisions about your NFT project.
Conclusion
In conclusion, starting an NFT project requires defining clear goals, choosing a suitable blockchain platform, creating a smart contract, promoting the project, and monitoring its performance. Defining project goals helps to create a roadmap and track progress towards success. Choosing the right blockchain platform requires considering factors such as security, scalability, cost, and community. Creating a smart contract involves defining the attributes and rules of the NFT and testing and deploying it to the chosen platform. Seeking professional help may be necessary for those who are not technically proficient. By following these steps and making informed decisions, developers can successfully launch an NFT project that attracts buyers and investors.


 Can I Sell Home Cooked Food On DoorDash? A Guide For Beginners!